As development of Frequent Flyer is coming to an end, we’re actively preparing to take part in GameOn convention in Lithuania, so I think it’s a good idea to show some stats on publicity and my observations so far.
Facebook, Google Adwords, Twitter
First, let’s clear up some lightweight and most obvious stuff that comes to mind when someone mentions marketing: facebook ads and google adwords. In my case, both of those did not work.
Adwords: high CPI, impossible to beat A+ games. Offered $0.5 for install in US. I know, it’s not much. Offered $0.3 for install in Pakistan (you know, for science) and still got nothing.
Facebook Ads:
Not really related, but spent $10 on Unblocking Puzzle Link (http://coldwild.com/unblocking/) promo. Targeted olderpeople in US/UK who like puzzles: 182 likes, 22 link visits, 1000 shows. I don’t consider it a good result for $10 spent, especially since the link was leading directly to the game. Likes != visits.
Regarding Frequent Flyer: tried using facebook ad campaign to promote steam greenlight link. Even worse. One like, zero visits, stopped it as amount spent got to $3. Audience: retro shmup fans in US/UK (again).
For the future projects: not going to use it much (unless I want to boost a game that already had some traction). OK, now for the good parts.
Some thoughts about twitter (not backed up by hard facts): seems like a huge circlejerk sometimes. In my case, I often see developers following developers. If you have a real player follow: be happy about it, value it like a 100 business followers. Coldwild Games has ~1000 followers and almost no conversions (direct link to web version of FF got about 40 views).
Forums
I’ve made a post on reddir.com/r/gamedev almost as soon as I had greenlight on. Not much publicity, but good feedback from players, lots of which I’ve tried to implement. The greenlight really came early, the game was much less polished and it’s no surprise it did not take off.
In the thread, I’ve got comments from Bigosaur with link to his blog and his game promoting experience (http://bigosaur.com/blog/27-marketing-android-game) <- if you are starting out, check this out, very informative and decided that I’m going to do the same.
Overall, I’ve posted on six forums:
Java-gaming.org, LibGDX forums (badlogicgames.com), TigSource, Gamedev.ru, Gamedev.net, shmups.system11.org. Apart from gamedev.ru (does not give any stats), here’s how everything turned out regarding views and discussion:
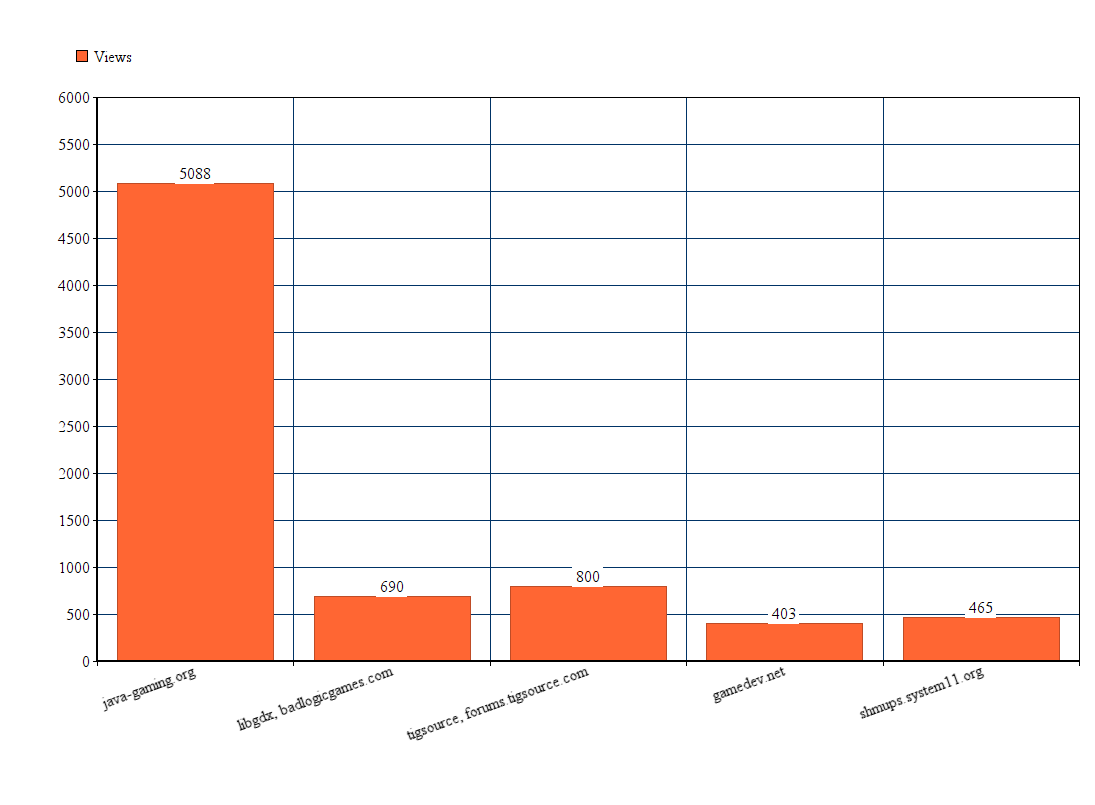
Forum Thread Views
Java-Gaming turned out to be the most popular one. I understand that this is very specific (especially since I’m developing on Java/Libgdx), but you can try to get similar results on Unity forums.
Here’s how I fared reply-wise (including my posts, you can substract 12 from every reply). Not many people were replying, but again, java-gaming turned out to be a popular one.
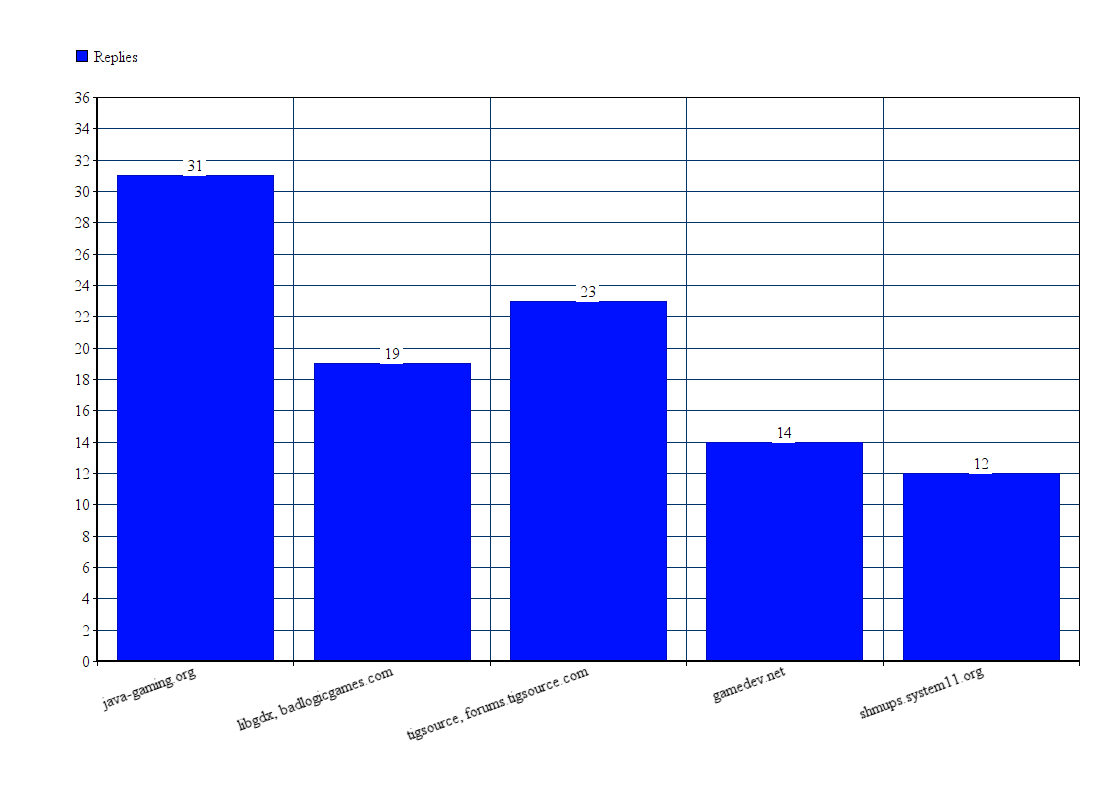
Forum Replies
Right, so I actually got more replies/suggestions/bug reports on java-gaming too. Tigsource, despite smaller amount of views, got me a good amount of people replying and being interested.
Important note: you have to write all the time. At first I had maybe 100 views on most of the forums, but as I kept putting the progress, I started getting replies and increasing amount of views. It does not take much time, you get used to it (use the similar forum posts with similar BBCode that links to your awesome images and gifs). If you are starting out a serious project – I suggest you publish your devlogs on the forums. This thing helps, really and in the end each devlong won’t take more than an hour of your time (you can do it once or twice a week).
Making a Web Version
Forums are one thing. But what about actually putting your game out there? Since I was developing in LibGDX, it was no trouble to prepare a web version and put it online. Which I did. Here: http://coldwild.com/flyer/ Plot twist? Nobody cares. And technically, why should they? Why would anyone, who can visit kongregate / itch.io / newgrounds / etc, go to your website to play this one single game?
So, the time has come to spread the word further. I’ve put the game on four networks: itch.io / newgrounds / kongregate / gamejolt.
itch.io turned out to have worst performance for me. Maybe it’s the logo or the page looks ugly, dunno. Total, in two months, I had fourty views (I’m pretty sure half of those is me checking if the game works after I update the version).
kongregate is easiest of them all: http://www.kongregate.com/games/comrad_gremlin/frequent-flyer/, 120 plays. You have some views when you just publish (they show it somewhere I think), but after that: silence. On the bright side: you can embed your website into their player, so I’ve simply put the link to my coldwild.com/flyer and forgot about it. No more reuploads, the version is updated automatically as soon as I upload a new one to my hosting!
newgrounds turned out better: http://www.newgrounds.com/portal/view/680363 ~700 plays so far, and the number gradually keeps going up. No complaints. But you need to reupload/review the game every time you have an update.
So, essentially, The more places you put your game, the higher you maintenance time cost. (obviously). I regret putting html version of my game on itch.io (~40 views in 2 months), because itch.io does not allow embedding your html simply and seems to not give much organic views (maybe I did something wrong?).
Gamejolt deserves a separate word. I’ve put the game there and in first few weeks was getting results similar to itch.io. I’ve kept updating it regularily and writing my devlog. On about fourth week, the game got featured on front page. This got me: 5.3k Views, 1.4k Plays, 75 Ratings, with average score 3.7867 out of 5.
I was not ready for this. Only when my highlight time was coming to an end, I’ve figured out that I should add a popup that asked players to vote. Got maybe 10 greenlight votes after I made a simple popup (shown to returning players asking them to vote).
Here’s a total amount of times my game has been played online:

Game Plays Online
It might not seem much, but it’s much more than my previous games, so I’m really happy about that. I was also happy when I got the messages from some players that they’ve unlocked all the planes. Feelsgoodman.
Sad Part: The Greenlight
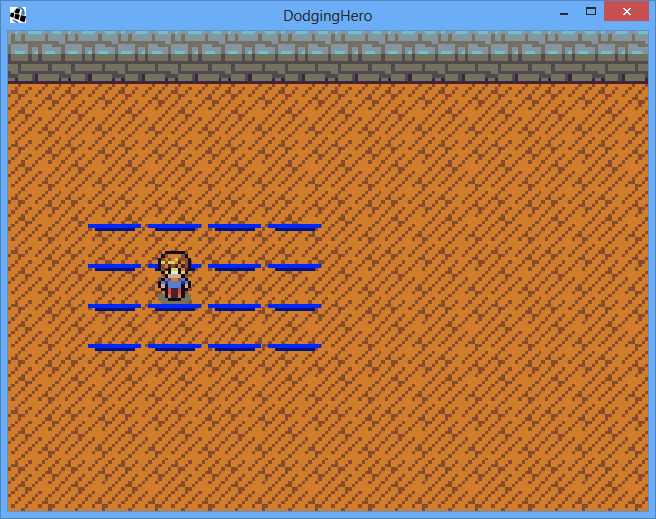
The game looks much better now, but the momentum has been lost.
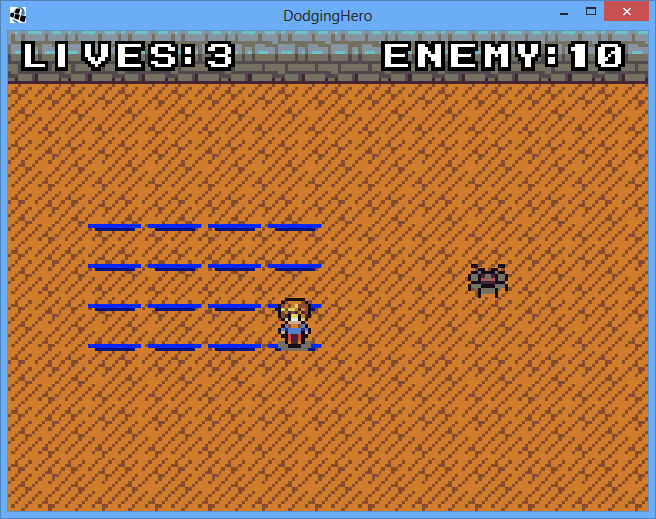
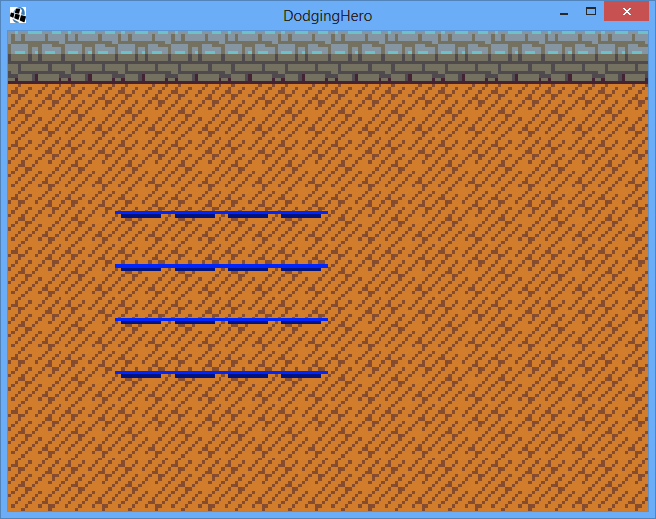
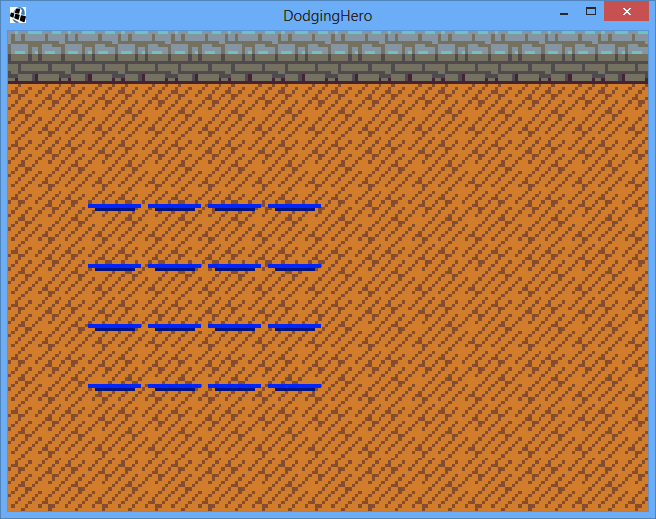
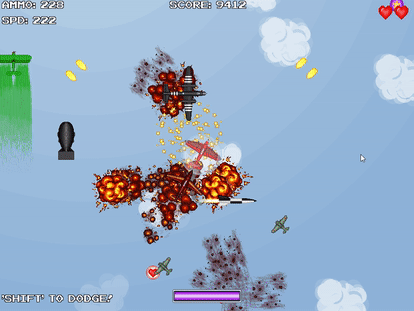
Frequent Flyer: before
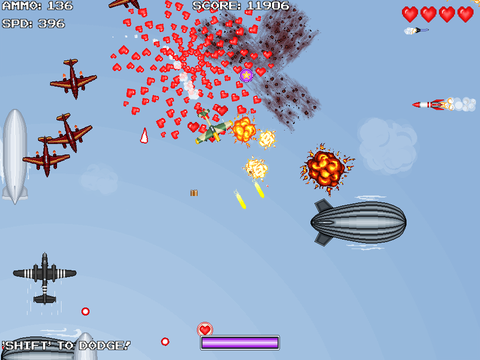
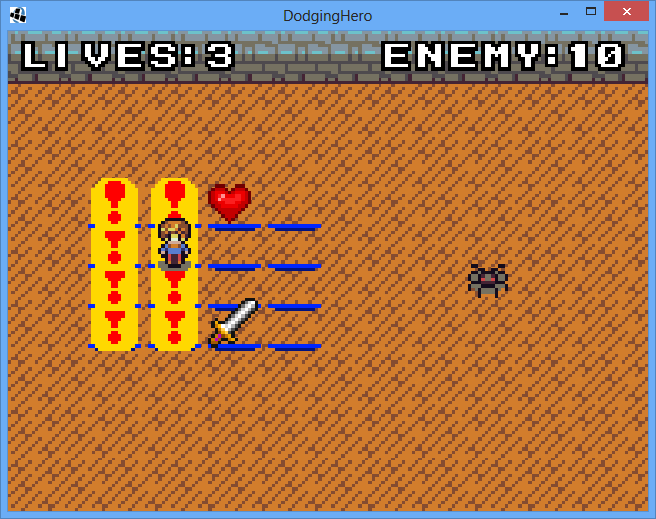
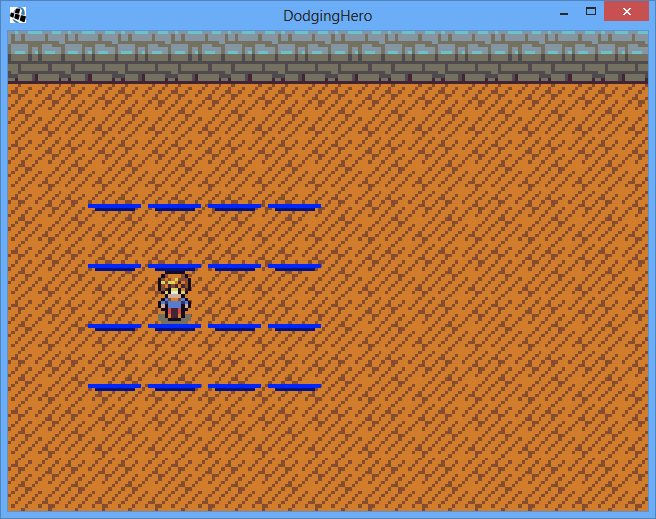
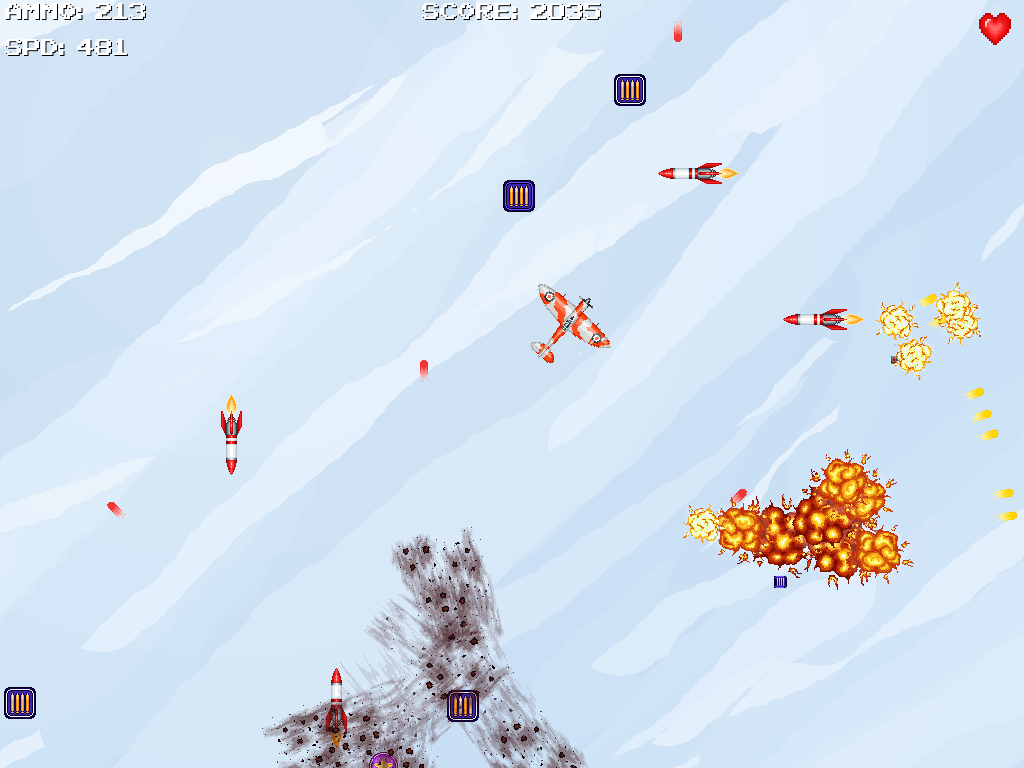
FF: Now
The Greenlight Marketing tips seem obvious, but they are spot on. Put the best possible version out there, polish one level instead of making 20 (my mistake: was trying to make all enemies/player planes first). Make the game look as good as possible. You get the initial spotlight from Valve, but after that it becomes increasingly complicated. I got maybe 20 votes from web version, but here’s how Greenlight looks now:
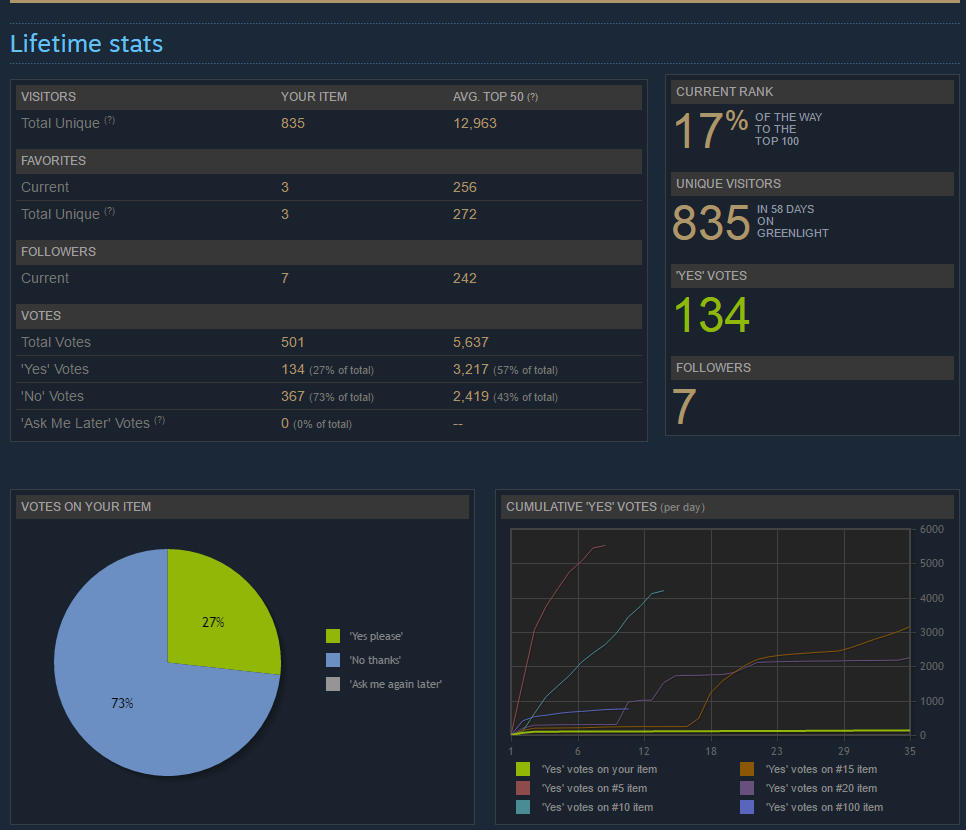
As you can see, not much hope is left 🙂 I’m definitely going to show the game off at GameOn and see if I can get some good feedback and traction. If not – I’m going to consider this a lesson learned, will employ the promo things that I’ve learned (forums / web games).
Summary
- Post devlogs on Forums regularly, as soon as you have a simple prototype to show (make sure to update the first post to indicate the biggest advancements)
- For web version in my case, best results came from: gamejolt > newgrounds > kongregate
- Greenlight: put it out there only when you have a decent version to show. No surprise, getting votes after the launch is much more complicated.
In case you want to support me with the vote, here’s the link: http://steamcommunity.com/sharedfiles/filedetails/?id=744697163