Putting Game Logic behind bonus visuals. Winning the game.
In our previous lesson, we’ve discussed how to display bonus pickups, but we have not introduced a way for the player to actually pick them. Time to change that! We want our player to pick bonuses in order to restore health and deal damage. To do this, we need to check when player moves to a tile to see if the tile contains something. If it does – we pick it up.
In our GameLogic, let’s extend our AssignPlayerPosition function. After the player moves to a new coordinates, let’s check if there’s actually a bonus there. If there is – do something according to the bonus type.
Since we don’t have many bonuses at the same time, we’ll go through the whole list (from end to the beginning) and check the coordinates of each bonus. If they match – we remove the bonus and apply its effect to the game. Sounds easy? Let’s get to it.
public void AssignPlayerPosition(int fx, int fy)
{
    player.setFieldX(fx);
    player.setFieldY(fy);

    for (int i = bonuses.size() - 1; i >= 0; i--)
    {
        Bonus currentBonus = bonuses.get(i);
        if (currentBonus.getFieldX() == fx &&
                currentBonus.getFieldY() == fy)
        {
            currentBonus.release();
            bonuses.remove(i);
            break;
        }
    }
}
As I said: go through the bonus list from end to beginning. In this case it does not make a difference if you go from beginning or end (since you remove bonus only once), but if you remove multiple elements, you want to do the traversal from end to beginning, because removing an element decreases all next indexes by one which makes traverse via for cycle unreliable. (You might skip an element that needs to be deleted).
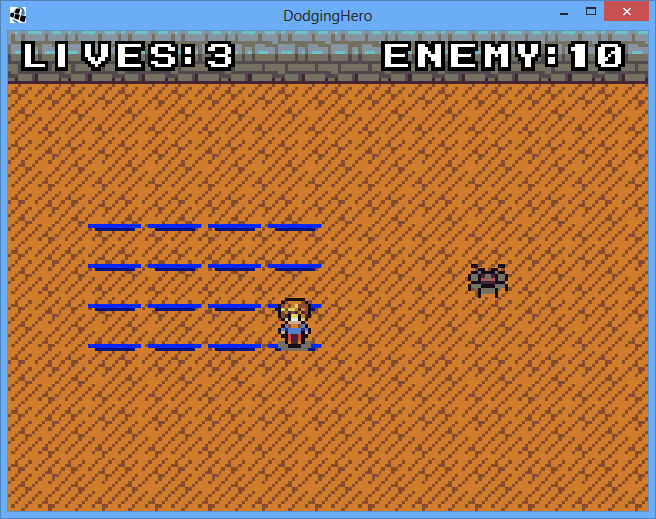
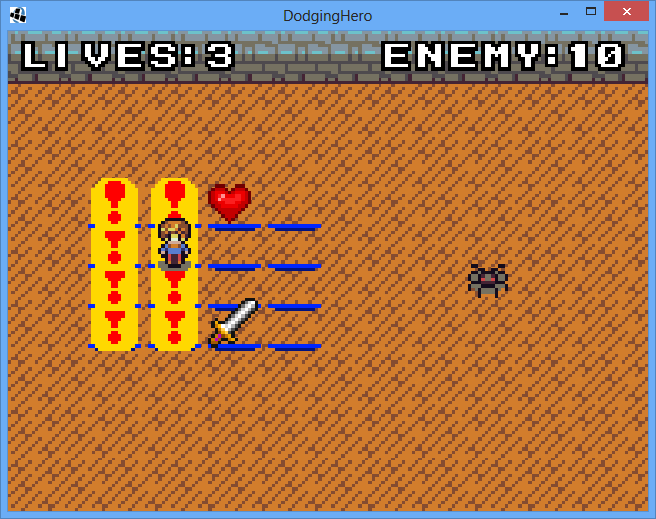
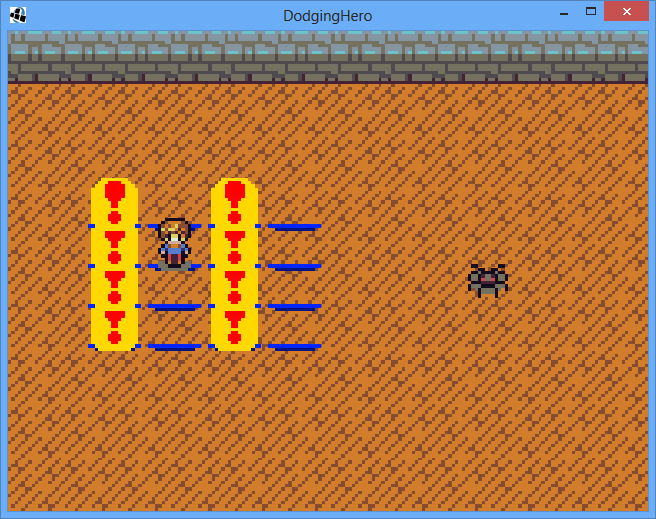
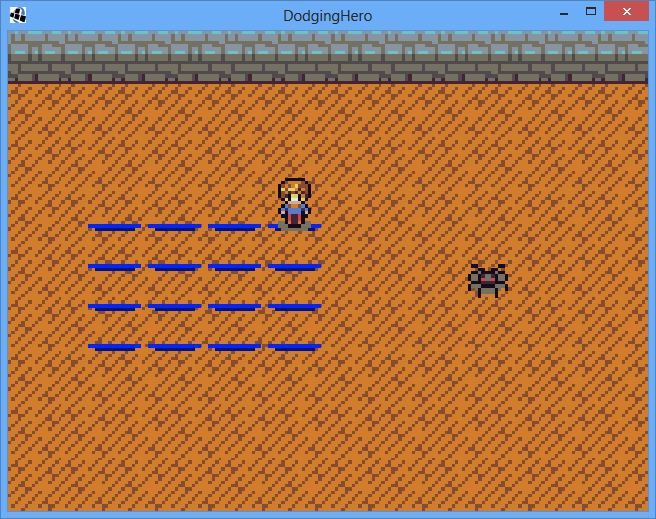
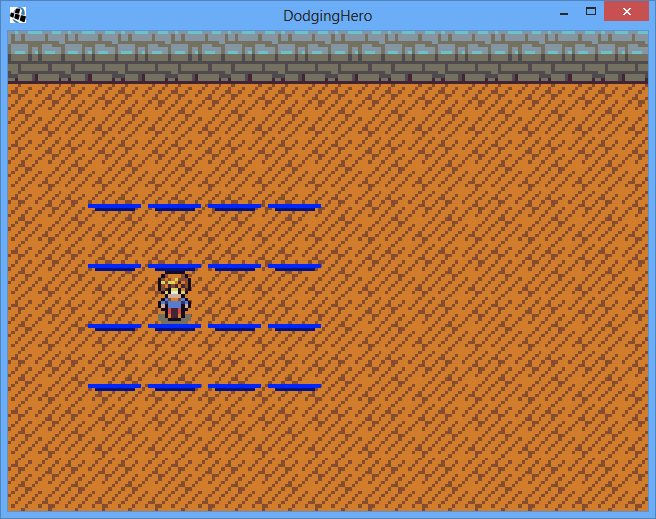
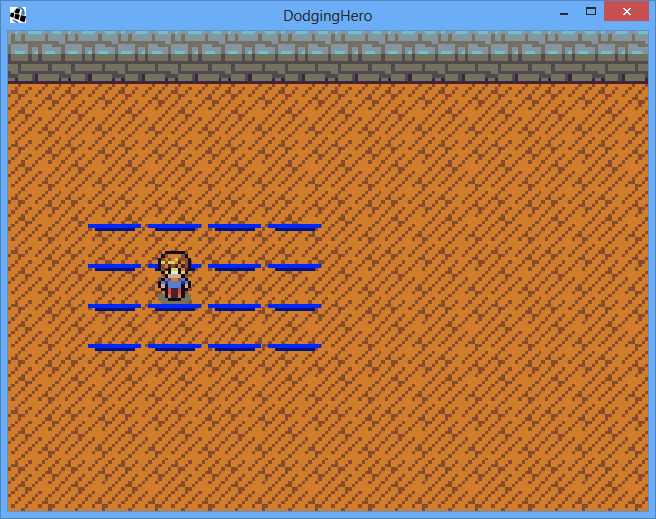
Run the game. Try moving around and picking up bonuses. You can see that it is working, bonuses are disappearing as you step on them! Now, we need to actually do something when you pick them up. Before you release the bonus, let’s check the bonus type and do something depending on that type.
We know what should be happening: on life pick, increase player lives. On attack bonus pick – reduce enemy lives. Unfortunately, we have no means (yet!) to do this.
if (currentBonus.getBonusType() == Bonus.BONUS_TYPE_HEALTH)
{
    player.addLives(1);
}
else if (currentBonus.getBonusType() == Bonus.BONUS_TYPE_ATTACK)
{
    enemy.takeDamage(1);
}
Increasing Player’s Lives
We’ll need to add addLives function to our Player and takeDamage function to our enemy. Start with the first. Adding lives is not complicated, but it gets a bit tricky: we don’t want to go over the top when player picks extra lives. We only want to restores the ones our player has lost. Let’s cap the lives of the player. Introduce a private final variable max_lives. It’s going to hold the initial amount of lives player was assigned. Modify our Player constructor:
private int lives;
private final int max_lives;

public Player(int fx, int fy, Resources res, int _lives)
{
    max_lives = _lives;
Great, our max_lives are saved. Now we’ll have something to check player’s lives against. Let’s start working on addLives function.
public void addLives(int amount) {
    lives += amount;
    if (lives > max_lives)
    {
        lives = max_lives;
    }
}
Add the lives, then if our lives are above the cap, reduce them to a max possible value.
Reducing enemy lives, winning the game
With enemy, it’s going to be even easier. Introduce the function takeDamage that substracts the amount from lives. For the aesthetical reasons, let’s not allow the enemy lives go below zero.
public void takeDamage(int amount)
{
    lives -= amount;
    if (lives < 0)
    {
        lives = 0;
    }
}
Simple. If you run the game now, you’ll see that your lives get restored and enemy lives are taken away once you pick the right bonus. Cool. But you still can’t win the game. As the final step, let’s adjust our GameScreen.
We don’t want to update the game (for now) once enemy got destroyed, so adjust our update() function to add an extra condition.
private void update(float delta)
{
    gameStage.act(delta);
    if (player.getLives() > 0 && enemy.getLives() > 0)
    {
        logic.update(delta);
    }
}
Enemy lives should be greater than zero. Also, adjust AttemptMove function to restrict player movement in case enemy lives are less than zero. How it will look now:
public void AttemptMove(int dx, int dy)
{
    if (player.getLives() > 0 &&
        enemy.getLives() > 0 &&
            logic.CheckMove(player.getFieldX() + dx, player.getFieldY() + dy))
    {
        logic.AssignPlayerPosition(player.getFieldX() + dx, player.getFieldY() + dy);
    }
}
Then, in our DrawUI function, let’s make sure we tell the player that he won. Create a separate function ShowGameResult(String result) and move the “Defeat” writing there.
private void ShowGameResult(String result)
{
    DrawShadowed(result,
            0,
            gameStage.getViewport().getScreenY() + gameStage.getWidth() / 2,
            gameStage.getWidth(),
            Align.center,
            Color.RED);
}
The DrawUI part where we used to write “DEFEAT” should look like this now:
if (player.getLives() <= 0)
{
    ShowGameResult("DEFEAT!");
}
Add an extra condition that will write “Victory!” in case player won. Should be easy:
else if (enemy.getLives() <= 0)
{
    ShowGameResult("VICTORY!");
}
Run the game. Everything works! Wooho. One thing I suggest doing to make the game a bit more dynamic, is to reduce warning effect time (WARNING_TIME) from 2 to, say, 0.75 seconds. Whatever makes the game more interesting for you.
Today, we’ve reached an important achievement! We have a working prototype. Took us about 5 hours total. Usually, at this stage you can see if the game is worth working on (is it at least slightly entertaining to play the prototype?).
If this was a book, it would conclude volume one. The next volume I’ll spend on polishing the looks and the feel on the game. And finally, I’m going to work on publishing things (Android: ads / in-app purchases / achievements / leaderboards). So, stay tuned, and let’s have a great journey developing the game together!
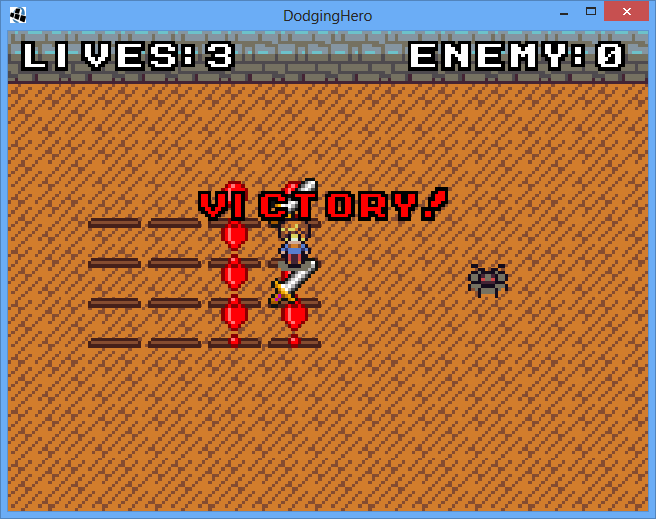
Our victory screen, after you take all of the enemy lives
Building Html Version
A side note: to build and compile web version, go to “Terminal” tab in Android Studio and write “gradlew html:dist” command, without quotes. It will take some time, but you’ll have a web version that you’ll be able to upload/show off somewhere online. Just check yourproject/html/dist folder, it has all the necessary files.
Mine prototype is at: http://coldwild.com/dodge/
Relevant git commit: https://github.com/vladimirslav/dodginghero/commit/a337f155744c058aacd2ed3367cc1ac309485baf