Going Further: Background Implementation
So, Vladimir, are we finally ready to actually do something now? Damn right we are! In this lesson, let’s make a background and give our game the pixel-artsy feel. Go to our new amazing GameScreen, and add a new declaration at the start of the class:
private Stage gameStage;
In Libgdx, The stage is used to position UI elements in a nice way and read incoming UI events. It makes our job much easier.
We will initialize it with a new ViewPort. ViewPort limits the area of the screen which we are able to see. Since our game will be run on multiple devices with different screens, we need to make sure that every player will be able to play it, no matter his screen size. Libgdx offers lots of different viewports (you can read more about it here: https://github.com/libgdx/libgdx/wiki/Viewports). We’re going to use FixViewport, this will allows us to make sure that width/height proportions are kept, the main characters are going to be drawn in the middle and the background (which will be made from tiles) is going to be extended depending on the actual size of the screen.
First, let’s introduce a constant values for game width and height (these will be the minimal field width / height and will be extended according to window proportions). Since our tiles are really small, I’m choosing 192 for width and 128 for height (basically, 192 / 16 = 12 tile width, 128 / 16 = 8 tile height.).
public final int STAGE_W = 192;
public final int STAGE_H = 128;
Then, in our GameStage contructor, let’s initialize our gameStage, by passing our spriteBatch and new Viewport as parameters.
The whole part of code will look like this now:
public final int STAGE_W = 192;
public final int STAGE_H = 128;

public GameScreen(DodgingHero _game) {
    super(_game);
    batch = new SpriteBatch();

    ExtendViewport viewp = new ExtendViewport(STAGE_W, STAGE_H);
    gameStage = new Stage(viewp, batch);
}
Basically, we tell our gameStage to use our new extendviewport and to scale the screen accordingly. No matter the window size, the coordinates on the screen are always going to be at least STAGE_W x STAGE_H (192×128 in this case).
Splitting game update logics from drawing
Now, let’s split the screen update part from the actual drawing part. Make a new function update:
private void update(float delta)
{
    gameStage.act(delta);
}
The function updates the contents of the stage. We don’t really have any right now, but it will be useful later on. Delta is the time that passed since the rendering of the previous frame. If our stage has any animations, it basically adjusts them accordingly.
Now, let’s add a call of our update function inside the render function. After the screen is cleared (glClear command), issue a draw command to our stage. It will apply the stages camera settings and our further drawing will be done in the coordinates system we requested during constructor call.
Change the values in glClearColor to 0, 0, 0, 1 (Red, Green, Blue, Alpha). This will set the clear color to black, away from annoying red.
@Override
public void render (float delta) {
    update(delta);

    Gdx.gl.glClearColor(0, 0, 0, 1);
    Gdx.gl.glClear(GL20.GL_COLOR_BUFFER_BIT);

    gameStage.draw();

    gameStage.getBatch().begin();
    gameStage.getBatch().draw(game.res.ground, 0, 0);
    gameStage.getBatch().draw(game.res.wall, 0, 16);
    gameStage.getBatch().end();
}
Finally, in dispose() function, call gameStage.dispose(). The gameStage takes up resources that needs to be manually disposed of when we exit our game. Add super.dispose() call, which is a call to parent’s (DefaultScreen) dispose method (nothing’s there yet, but it’s a good idea to do it nonetheless in case we change something in the future).
@Override
public void dispose()
{
    super.dispose();
    gameStage.dispose();
    batch.dispose();
}
Run the game. You should see something like this:
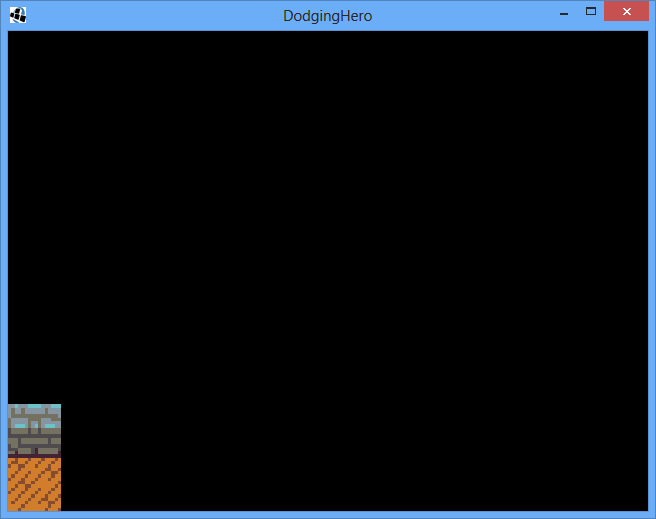
How Tiles Look At First
As you see, the tiles have increased in size! However, if you try resizing the window, the image stretches uncomfortably.
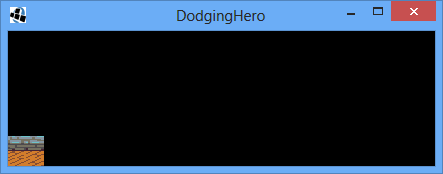
Uncomfortable Resize
This is because our viewport is not being updated. In GameScreen, add resize function:
@Override
public void resize(int w, int h) {
    super.resize(w, h);
    gameStage.getViewport().update(w, h, true);
}
This one is called on every resize, effectively resizing our viewport on every change of window size.

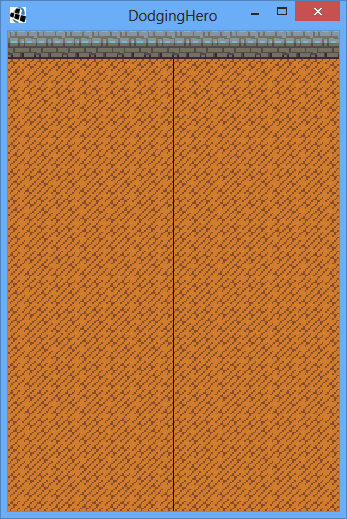
Proper Resize
The image is smaller, but dimensions are at least kept (and not stretched).
Filling the background with tiles
Finally, let us get to the background. In our main game package, create a new one called “graph” In my case, it is com.coldwild.dodginghero.graph
Inside that package, create a new Java Class, named “Background.” Create an empty public constructor (we’ll need it in later lessons).
Then, get to the drawing function. The current goal is quite simple: make a floor background with a wall behind. Let’s introduce the draw method, which will draw the background on the given Stage using Resource pack that we’ve loaded.
public void draw(Stage stage, Resources res){}
Make sure to include the proper stage package (alt+enter when your cursor is on Stage, then select the Stage from libgdx).
The current background idea is simple: fill the top row of the screen with wall tiles and the other parts with floor tiles. We’ll need two for cycles for that. One that goes from top to bottom and the other one inside it that goes from left side to right side. But first, go to Resources and introduce new constant TILE_SIZE (which, obviously, indicates our file size). We will use it for background drawing.
Get back to Background class file. Let’s raw the ground first, and then we’re going to worry about the walls.
public void draw(Stage stage, Resources res)
{
    stage.getBatch().begin();

    for (int y = (int)stage.getHeight(); y >= -Resources.TILE_SIZE; y -= Resources.TILE_SIZE)
    {
        for (int x = 0; x < stage.getWidth(); x += Resources.TILE_SIZE)
        {
            stage.getBatch().draw(res.ground,
                    x, y,
                    0, 0,
                    Resources.TILE_SIZE, Resources.TILE_SIZE,
                    1.01f, 1.01f,
                    0);
        }
    }
    stage.getBatch().end();
}
We’re going from the height of the stage (stage.getHeight) to the lower border and filling every row with tiles. Hold on a second, why are we using such a complicated draw procedure? We’re doing it because otherwise the images will experience tearing on stage resize. (If you figure out a better way – let me know, seriously).
Uncool black lines (poor resize result)
Now, let’s add the Background declaration and initialization to our GameScreen. Add the line Background bg; near the other declarations. In GameScreen constructor, add bg initialization:
bg = new Background();
And finally, we must make a call to bg.draw during our rendering. Add it before gameStage.draw() call. bg.draw(gameStage, game.res);
Run the game. The screen should be filled with floor tiles now. The only thing left now is to add wall tiles.
Right before stage.getBatch().end();, add another for cycle:
for (int x = 0; x < stage.getWidth(); x += Resources.TILE_SIZE)
{
    stage.getBatch().draw(res.wall, x, stage.getHeight() - Resources.TILE_SIZE, 0, 0, Resources.TILE_SIZE, Resources.TILE_SIZE, 1.01f, 1.01f, 0);
}
Run the game, see the background that stretches and handles any screen size well. Congratulations! Your background is complete.
Git Commit with code changes from this lesson: https://github.com/vladimirslav/dodginghero/commit/b15fa65097d8d1366955000e3b9dac594a6085cc
More on viewports:
https://github.com/libgdx/libgdx/wiki/Viewports
Why is the for loop for y running for 2 extra times, once at stage.getHeight() and other time at
-stage.getHeight() ?
Hey! One for loop was for the wall drawing, the other: for the ground.
If you mean the boundaries: it’s to cover all possible border cases and add extra line below the screen in case it gets “stretched”, leaving some space at the bottom.